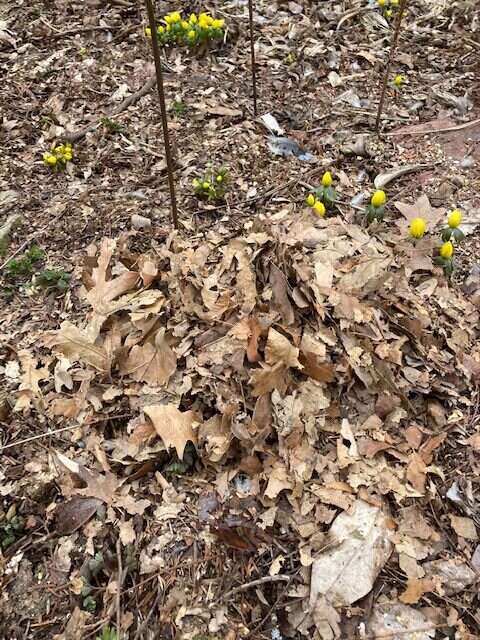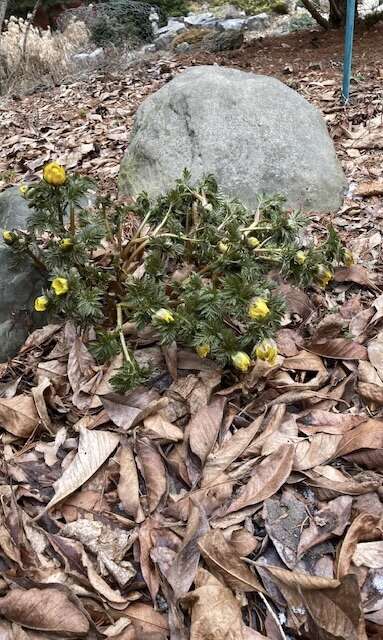
In our garden, the cool (if not cold) early Spring weather seems to be the domain of the “little bulbs”. Cyclamen coum, Eranthis, Galanthus, in addition the the early bulbous irises (histories and reticulata) all command the opening of the Spring Gardening Season.
However, there is a little vignette in this garden that never fails to captivate my attention, not so much for it’s well planned construction (because it wasn’t), but instead for the serendipitous success of the plants sited therein.
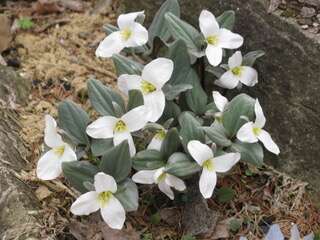
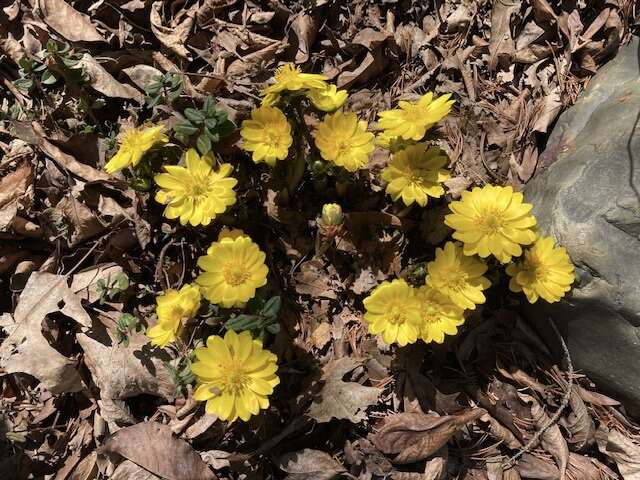
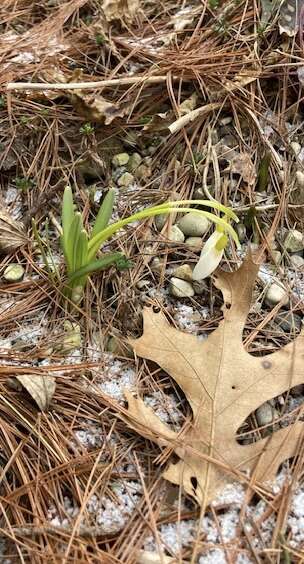
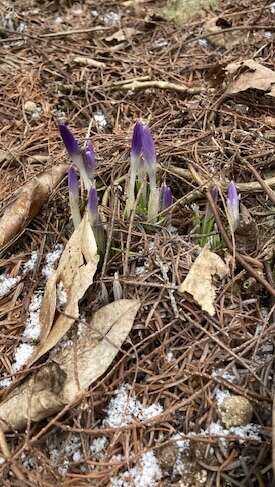
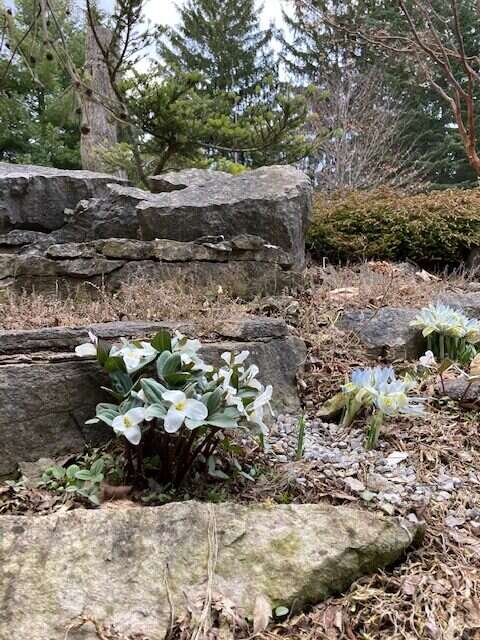
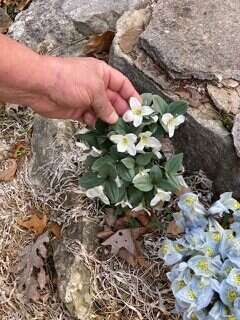
The star of this little corner is Trillium nivale, commonly referred to as the snow trillium. This minute Trillium makes its appearance in the garden, along with last of the Eranthis blooms, as well as Galanthus nivale.
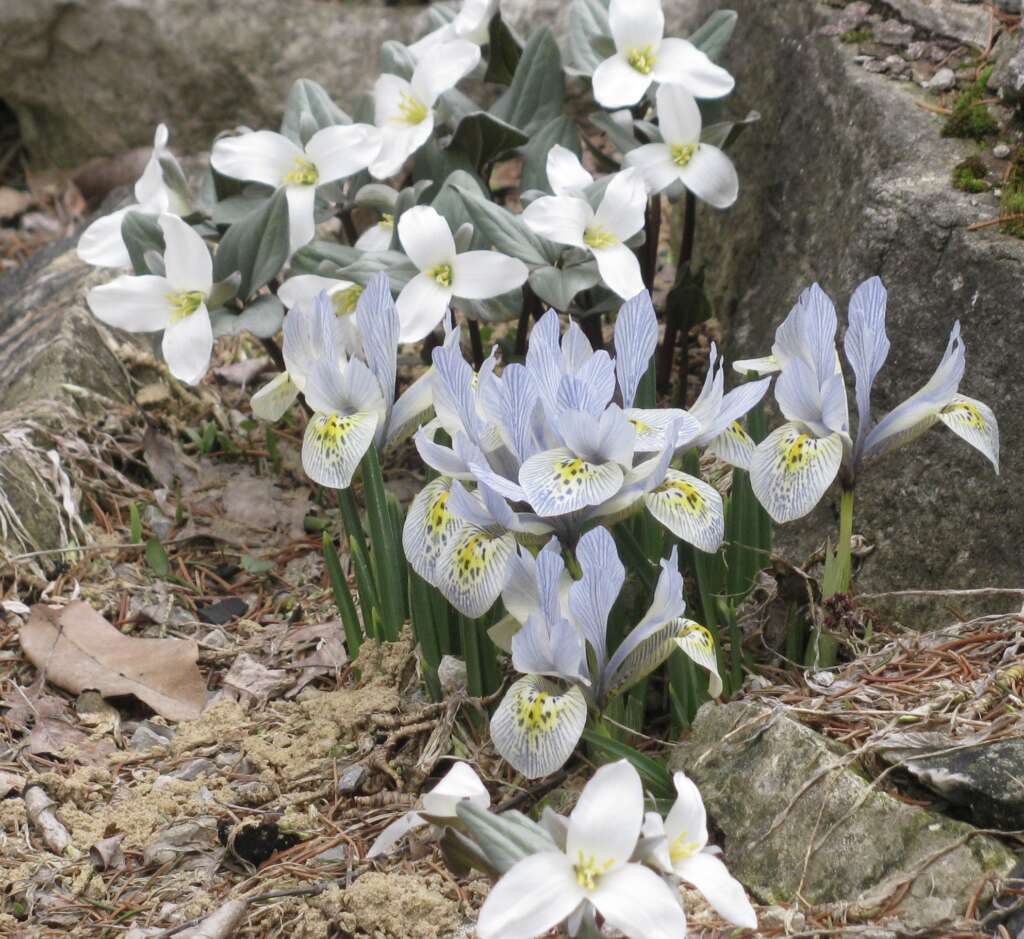
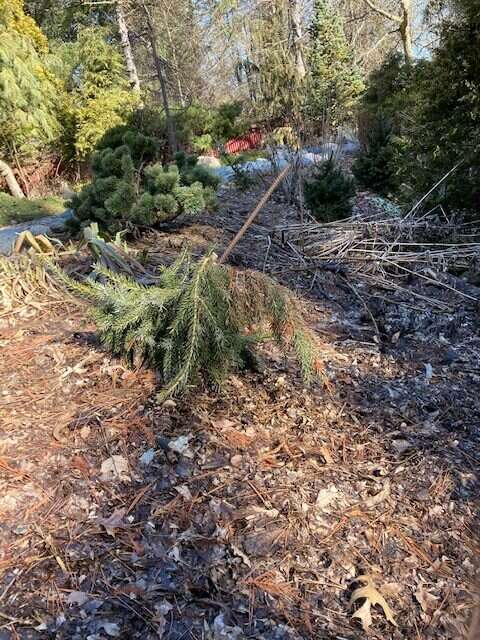
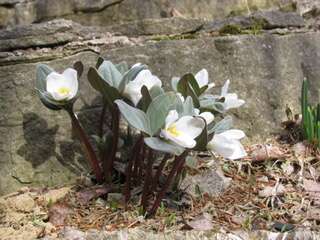
Most years this petite trillium is joined by Corydalis and Iris histroides ‘Katherine Hodgekins’. This unplanned pairing never fails to delight me. The fact that these little treasures thrive here has more to do blind luck than any forethought to this particular bed’s construction. The area of lawn that preceded this site was first covered over, first with sections of wet newspaper, the edges overlapping each other by roughly 20%, and then I covered the newsprint with the day’s grass clippings, until I could bring home a load of wood chips that were then applied in a 6-8″ thick layer. It was an effective method for killing the grass & weeds without resorting to a chemical application.
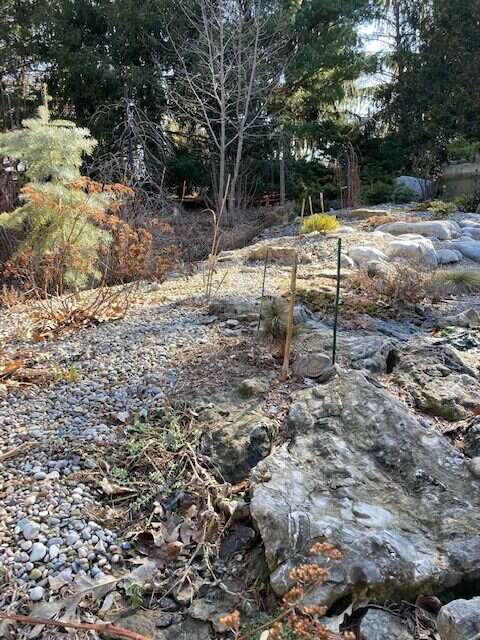
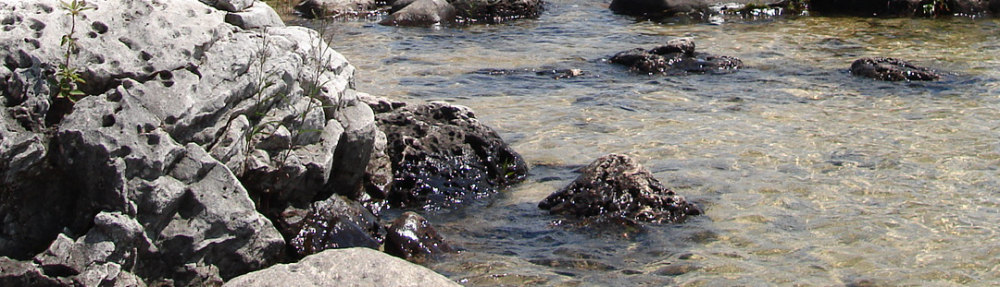
Later on when I decided to construct the Limestone Bed here, I simply hauled in the large chunks of limestone from a local quarry, backfilled between the larger rocks with coarse sand, and mulched everything with crushed limestone gravel. For the paths in and around this bed I utilized the same crushed limestone gravel 5-6″ in depth.
My first encounter with Trillium nivale, was in the magical garden of Roberta & Fred Case, known for their extensive collection of Trillium. It was by no means my first visit to this special place, though it was the first time I was there early enough to experience this earliest flowering of the trillium species.
I noticed that these diminutive gems were growing at the base of a low, broken ridge, made up of Limestone rocks. I don’t recall if the word calciphile was used, but it was made plain that a higher alkalinity it what they really desired.
It was sometime before I was able to attain my first plant of T. nivale (which happened to be the Indiana Form ), at a Great Lakes Chapter Spring Plant Sale. The Indiana form sports larger blooms than does our native Michigan Snow Trillium.
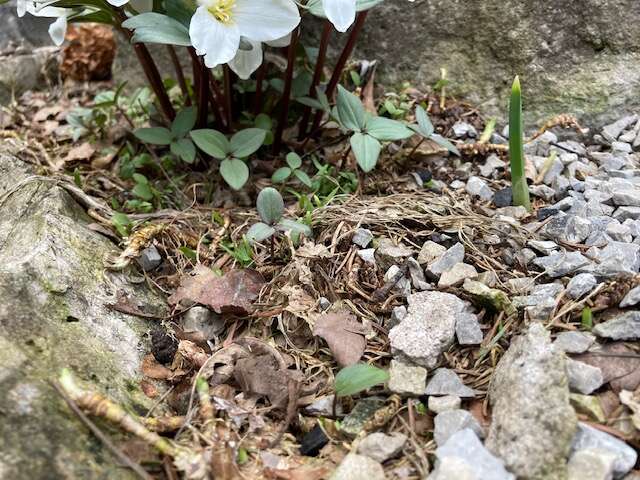
I thought I had a suitable spot (though it was technically in the edge of a path) and the medium was basically just crushed limestone gravel, so I worked in a bit of my heavy loam soil before planting, as well as into the gravel I used to backfill my new prize. Little did I realize how fortuitous was the site I chose.
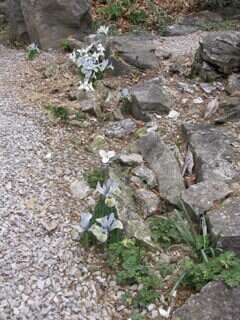
That plant bulked up quickly, allowing me to divide it on several occasions. Clearly delighted in it’s new home.
Several years later, a fellow GLC member imported a goodly number of new T. nivale plants from Indiana and I acquired several. The following spring I cross pollenated them all by hand. (Obviously I failed to capture all of the seed that was set).
Only in hindsight do I realize the unique conditions of this site which enables such success. For they hold far more importance than simply the limestone.
Over time the continuous activity of ants and worms had transported the heavy clay-loam soil (enriched by the heavy application of now decomposed wood chips), which underlays all of my beds, and throughly infused it within the limestone gravel.
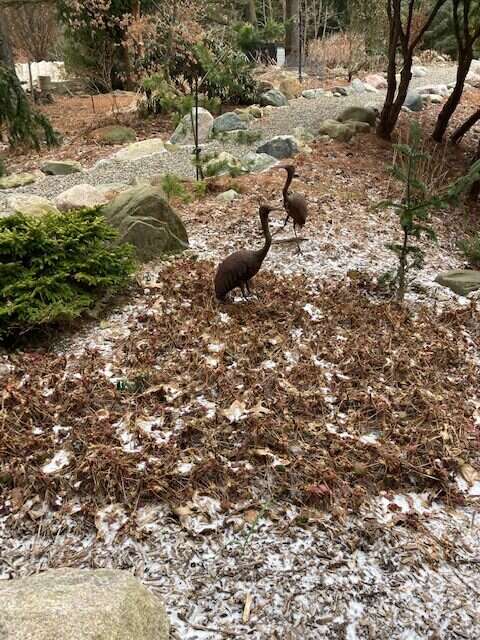
Another factor is the ridge of Limestone which backs them has a SW exposure. At this time of year the spot is bathed in hours of afternoon sun. In combination with exposure is an Amelanchier canadensis (the first tree I planted), located to the WSW (on the opposite side of the path), now leafless, but in a couple of weeks it will leaf out and offer relief from the hot sun of late spring and summer.
It’s been a happy accident and I didn’t think that I could be more pleased.
Then four years ago something quite new appeared. Among the stems of the largest clump of T. nivale, was one that had a bloom made up of four petals rather than the usual three. When I examined that stem further, I noticed that the leaf contained a complement of four leaflets as well. Now this is not unheard of, and while oddly intriguing, this anomaly is rarely stable (as I was often reminded). As the size of that clump had gotten quite large I decided to remove a division which comprised nearly 1/2 of the clump, but I left the half containing the 4 x 4 stem in place.
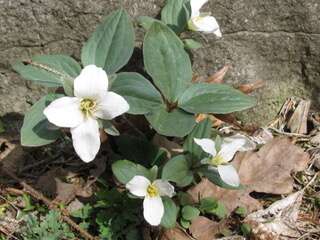
The following year the 4 x4 stem reappeared, looking as healthy as all of its sister stems in the clump. I made mention of this, and was reminded of its dubious stability, as the blooms opened, the four petaled bloom was there, and returned once more in the Spring of 2020, that made three years running!
Then last year this happened. Yep that’s a second four petaled flower with its full complement of four leaflets. Now that’s enough to make one sit up and take notice! What would next year bring? Well…
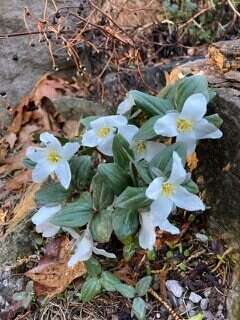
The short answer is a third 4 x 4 stem, but wait there is also another odd stem, and this one has a five petalled bloom and five leaflets!!!
Now I don’t know where this is going to lead, but for the past week I’ve been cross-pollenating the 4 and 5 petalled blooms with each other. If these unusual stems are offset from the same clump and not one of many seedlings, then they may not be self compatible (hence no seed). It has been so cold and dreary nearly all week I haven’t seen a single pollinator anywhere in the garden, so who knows. All I can say is I’m keeping my fingers crossed.
Now, about dividing this clump again…